
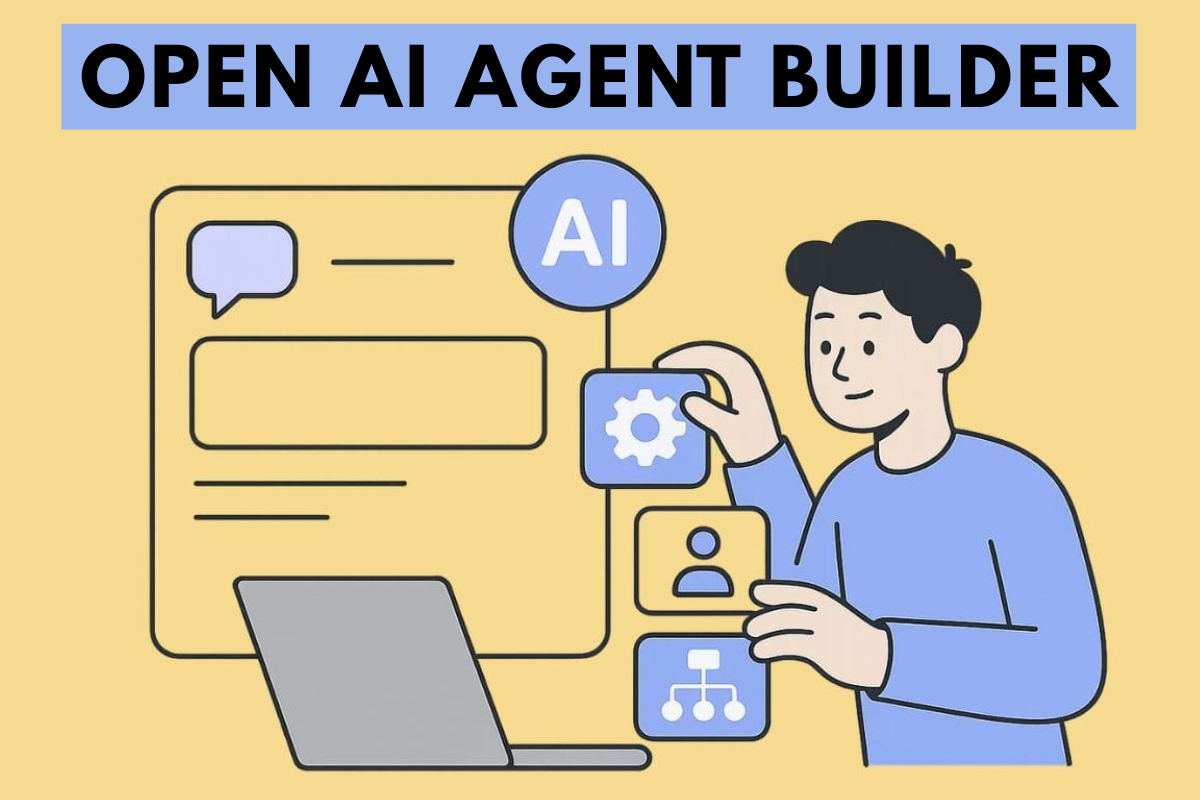
OpenAI Agent Builder does everything without coding. It’s a visual, no-code platform that lets anyone design, test, and deploy AI workflows using an intuitive drag-and-drop interface.Whether it’s an agent developer, a startup founder, or a curious learner, this tool offers new options for easily building smart agents without writing a single code word.
Understanding OpenAI Agent Builder
OpenAI Agent Builder Core Features and Capabilities
Here are some of the things that make Agent Builder valuable and recognizable:
- Visual drag-and-drop interface: Create AI workflows by connecting nodes. Without writing any code. Simply drag, drop, and link your ideas as input.
- Pre-built templates: The ability to get started quickly with pre-built templates for tasks like content creation, or data analysis to make users’ work easier.
- Built-in assessment tools: Test your building ai agents performance within the AI platform. No third-party or external setup, no overthinking or guessing—just provide input and receive clear feedback and insights.
- Export and Integration Options: Once your agent is fully capable of working as you expect, deploy it directly or export the code for deeper customization.
Key components that power Agent Builder tailored to your needs
The Agent Builder tool is powered by a combination of several components that make workflow creation fluid, effective, and modular.
- Initial nodes: Determine the correct direction of input parameters and initial conditions. Think of this as setting the stage for your agent’s actions.
- Classifier agents: Use these to intelligently route messages to the correct destination. For example, a travel agent can determine whether a query is about flights or itinerary ideas.
- Conditional logic (if/else nodes): These nodes allow for branching – your agent can make decisions and take different paths to deliver you quality results.
- Tool integration: Connect to web searches, APIs, or data systems to make your agent smarter and more productive.
Step-by-step example for creating your first agent
Let’s take a simple example – a travel assistant agent.
- Start with a niche, valuable, and basic node: Choose a node that determines what kind of information your agent should receive as input (such as destination or date).
- Add a classifier: Enable your build ai agent to identify whether the message is about flight details or itinerary suggestions.
- Use conditional logic: Smartly route messages to the correct sub-agent based on the classification.
- Create specialized agents: One agent handles flight details, another plans itineraries.
- Integrate tools: Add web search to get real-time flight information or hotel availability.
In just a few minutes you’ll find you have a working multi-step travel planner – all without typing a single line of code or code word.
Advanced Customization: Widget Studio Integration
Testing, Evaluation, and Optimization
- Monitor your agent’s working speed and accuracy
- Identify weaknesses and improve decision logic
- Iterate based on feedback from real-world users
Deployment and Integration Options
- Deploy the Agent Builder directly from the interface.
- Integrate with ChatKit for chat-based applications.
- Use the Agents SDK for complex integrations.
- Embed the system with a Workflow ID for seamless system connections.
Future Implications and Best Practices
- Continue to refine your workflows over time
- Prioritize user experience
- Monitor build ai agent performance
- Experiment with new integrations
Plan and level access
Agent Mode will only be enabled for paid plans in the future (not for free users).
Currently, eligible plans include Pro, Plus, and Team users.
Currently I am using AI agent. It’s working awesome according to my work need.
Pingback: AI in Cybersecurity: Transforming Digital Defense in 2025 - bluebirdrank.com